5 Lessons from the Basic Pistol Course
One of the best perks of my job is being able to help out some of the greatest instructors around. Recently, I jumped into a larger Basic Pistol class in Maxton, NC, where Rick Lofton was teaching as an extra set of eyes and a different perspective on firearms use. Rick comes from the tier 1 military community, and I’m a civilian who has attended many firearm schools and courses. Aside from assisting on the range and jumping in from time to time to offer a different way (as you know, there can be many ways instead of the way), I like to audit courses we offer to see how other instructors teach, check the relevance of what is taught, tweak plans of instruction, and gain general insight into how the students are responding to the training. I would also like to take note of the main talking points from the course and share them in blogs like this one. What follows are some of the key takeaways from this entry-level course.
Stance and Body Position
Working from the ground up, Basic Pistol addresses the need for a strong stance. Rick explained the importance of keeping feet pointed toward the target, feet slightly wider than the shoulders, and the support hand side slightly forward of the shooting side. Throughout the day, minor adjustments were made to how the students stood. More lackadaisical posture sometimes took over, impacting how the students managed recoil. A straightforward way to address a student’s stance was asking, “Does your stance look athletic?”. This fixes many of the straight-legged, narrow stances and leaned-back issues.
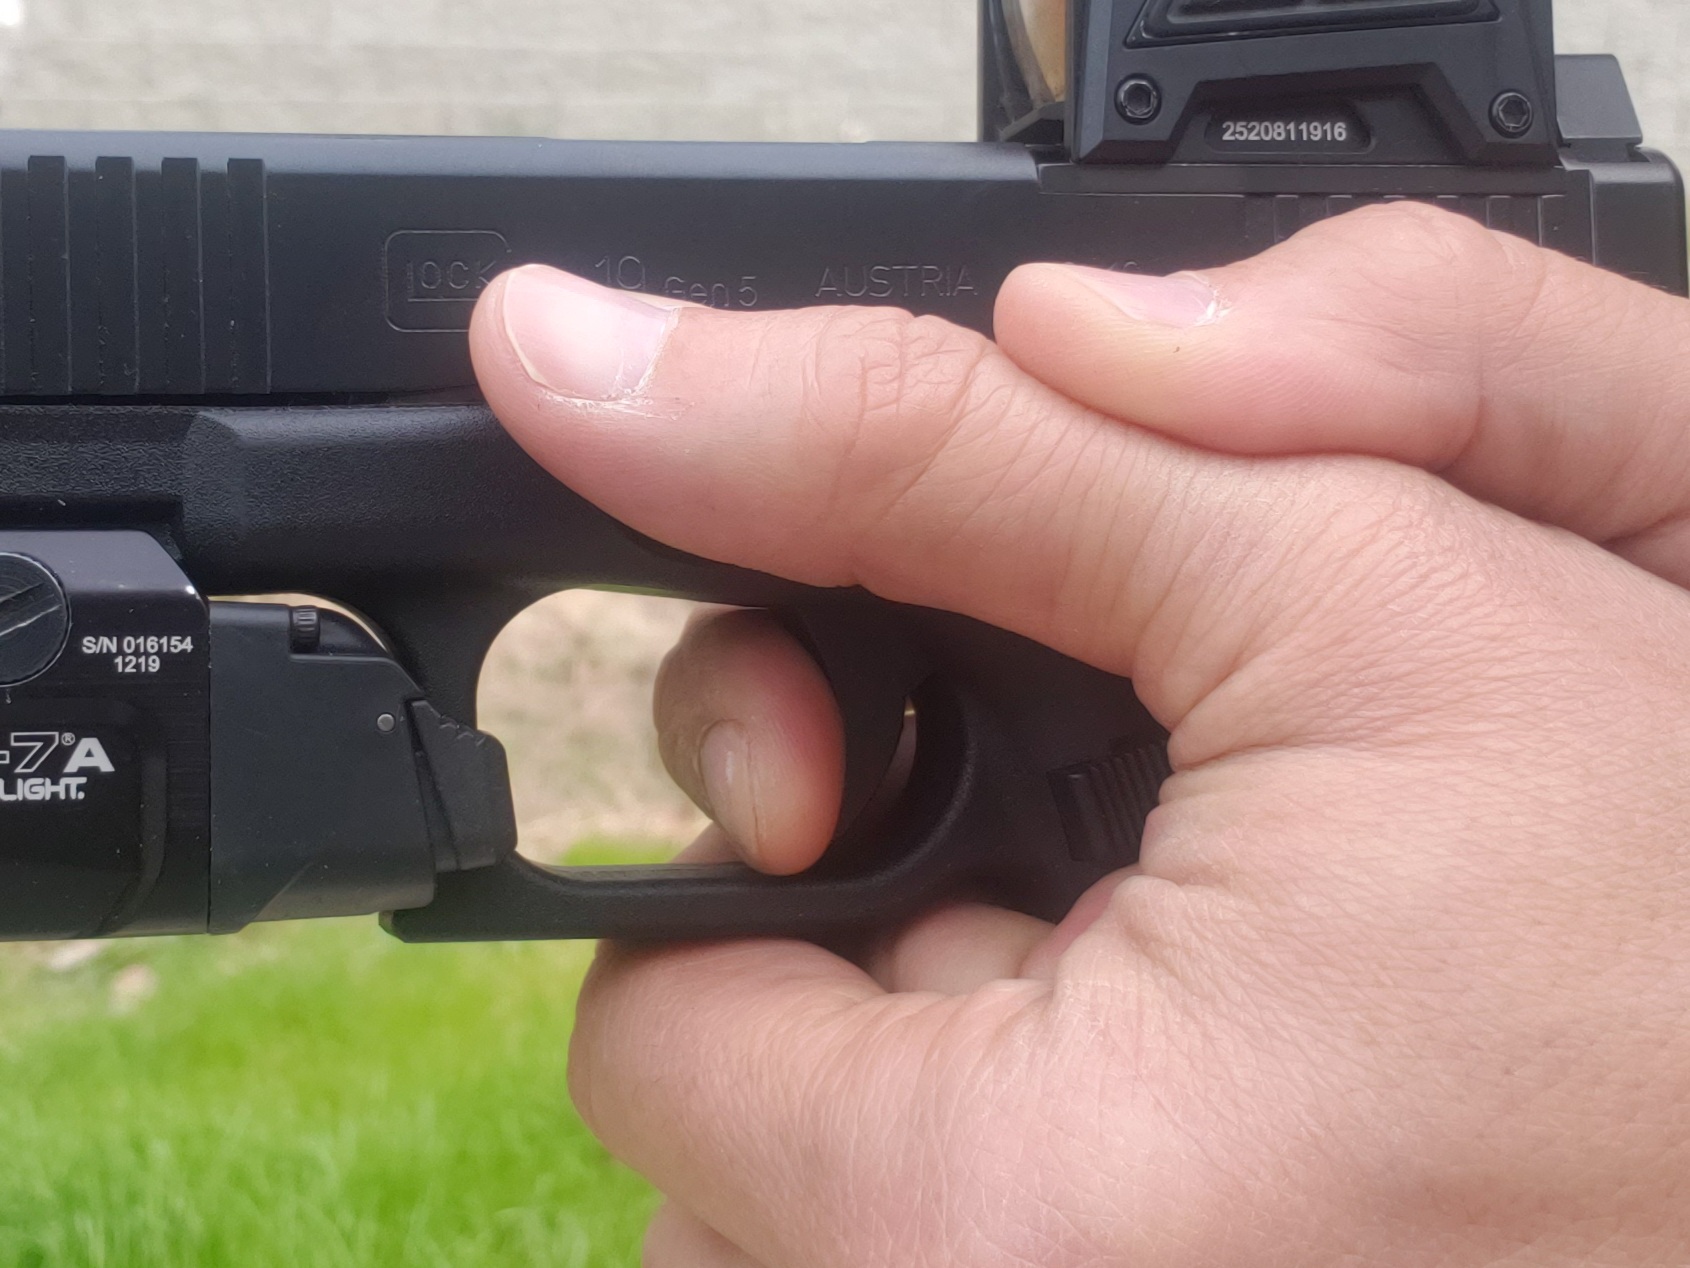
Trigger Press
Marksmanship comes down to many factors, but the two most important are sight alignment and trigger press. If a sight picture is steady and the press doesn’t move the sights from the target during the process, the accuracy won’t suffer. Upon examining the students’ targets, there were indicators of recoil anticipation and slapping the trigger. Rick had students work on the ball and dummy drill and plenty of dry fire. Students learned to read their triggers and understand the concepts of pre-travel and the wall. Trigger reset and ensuring a follow-up sight picture, set up students for multiple shot strings of fire. Some students were unaware of reset but eventually learned how far their trigger needed to travel before they could fire another round allowing faster follow-up shots. As the training continued, students learned to complete strings of fire in a shorter time with a greater standard of accuracy.
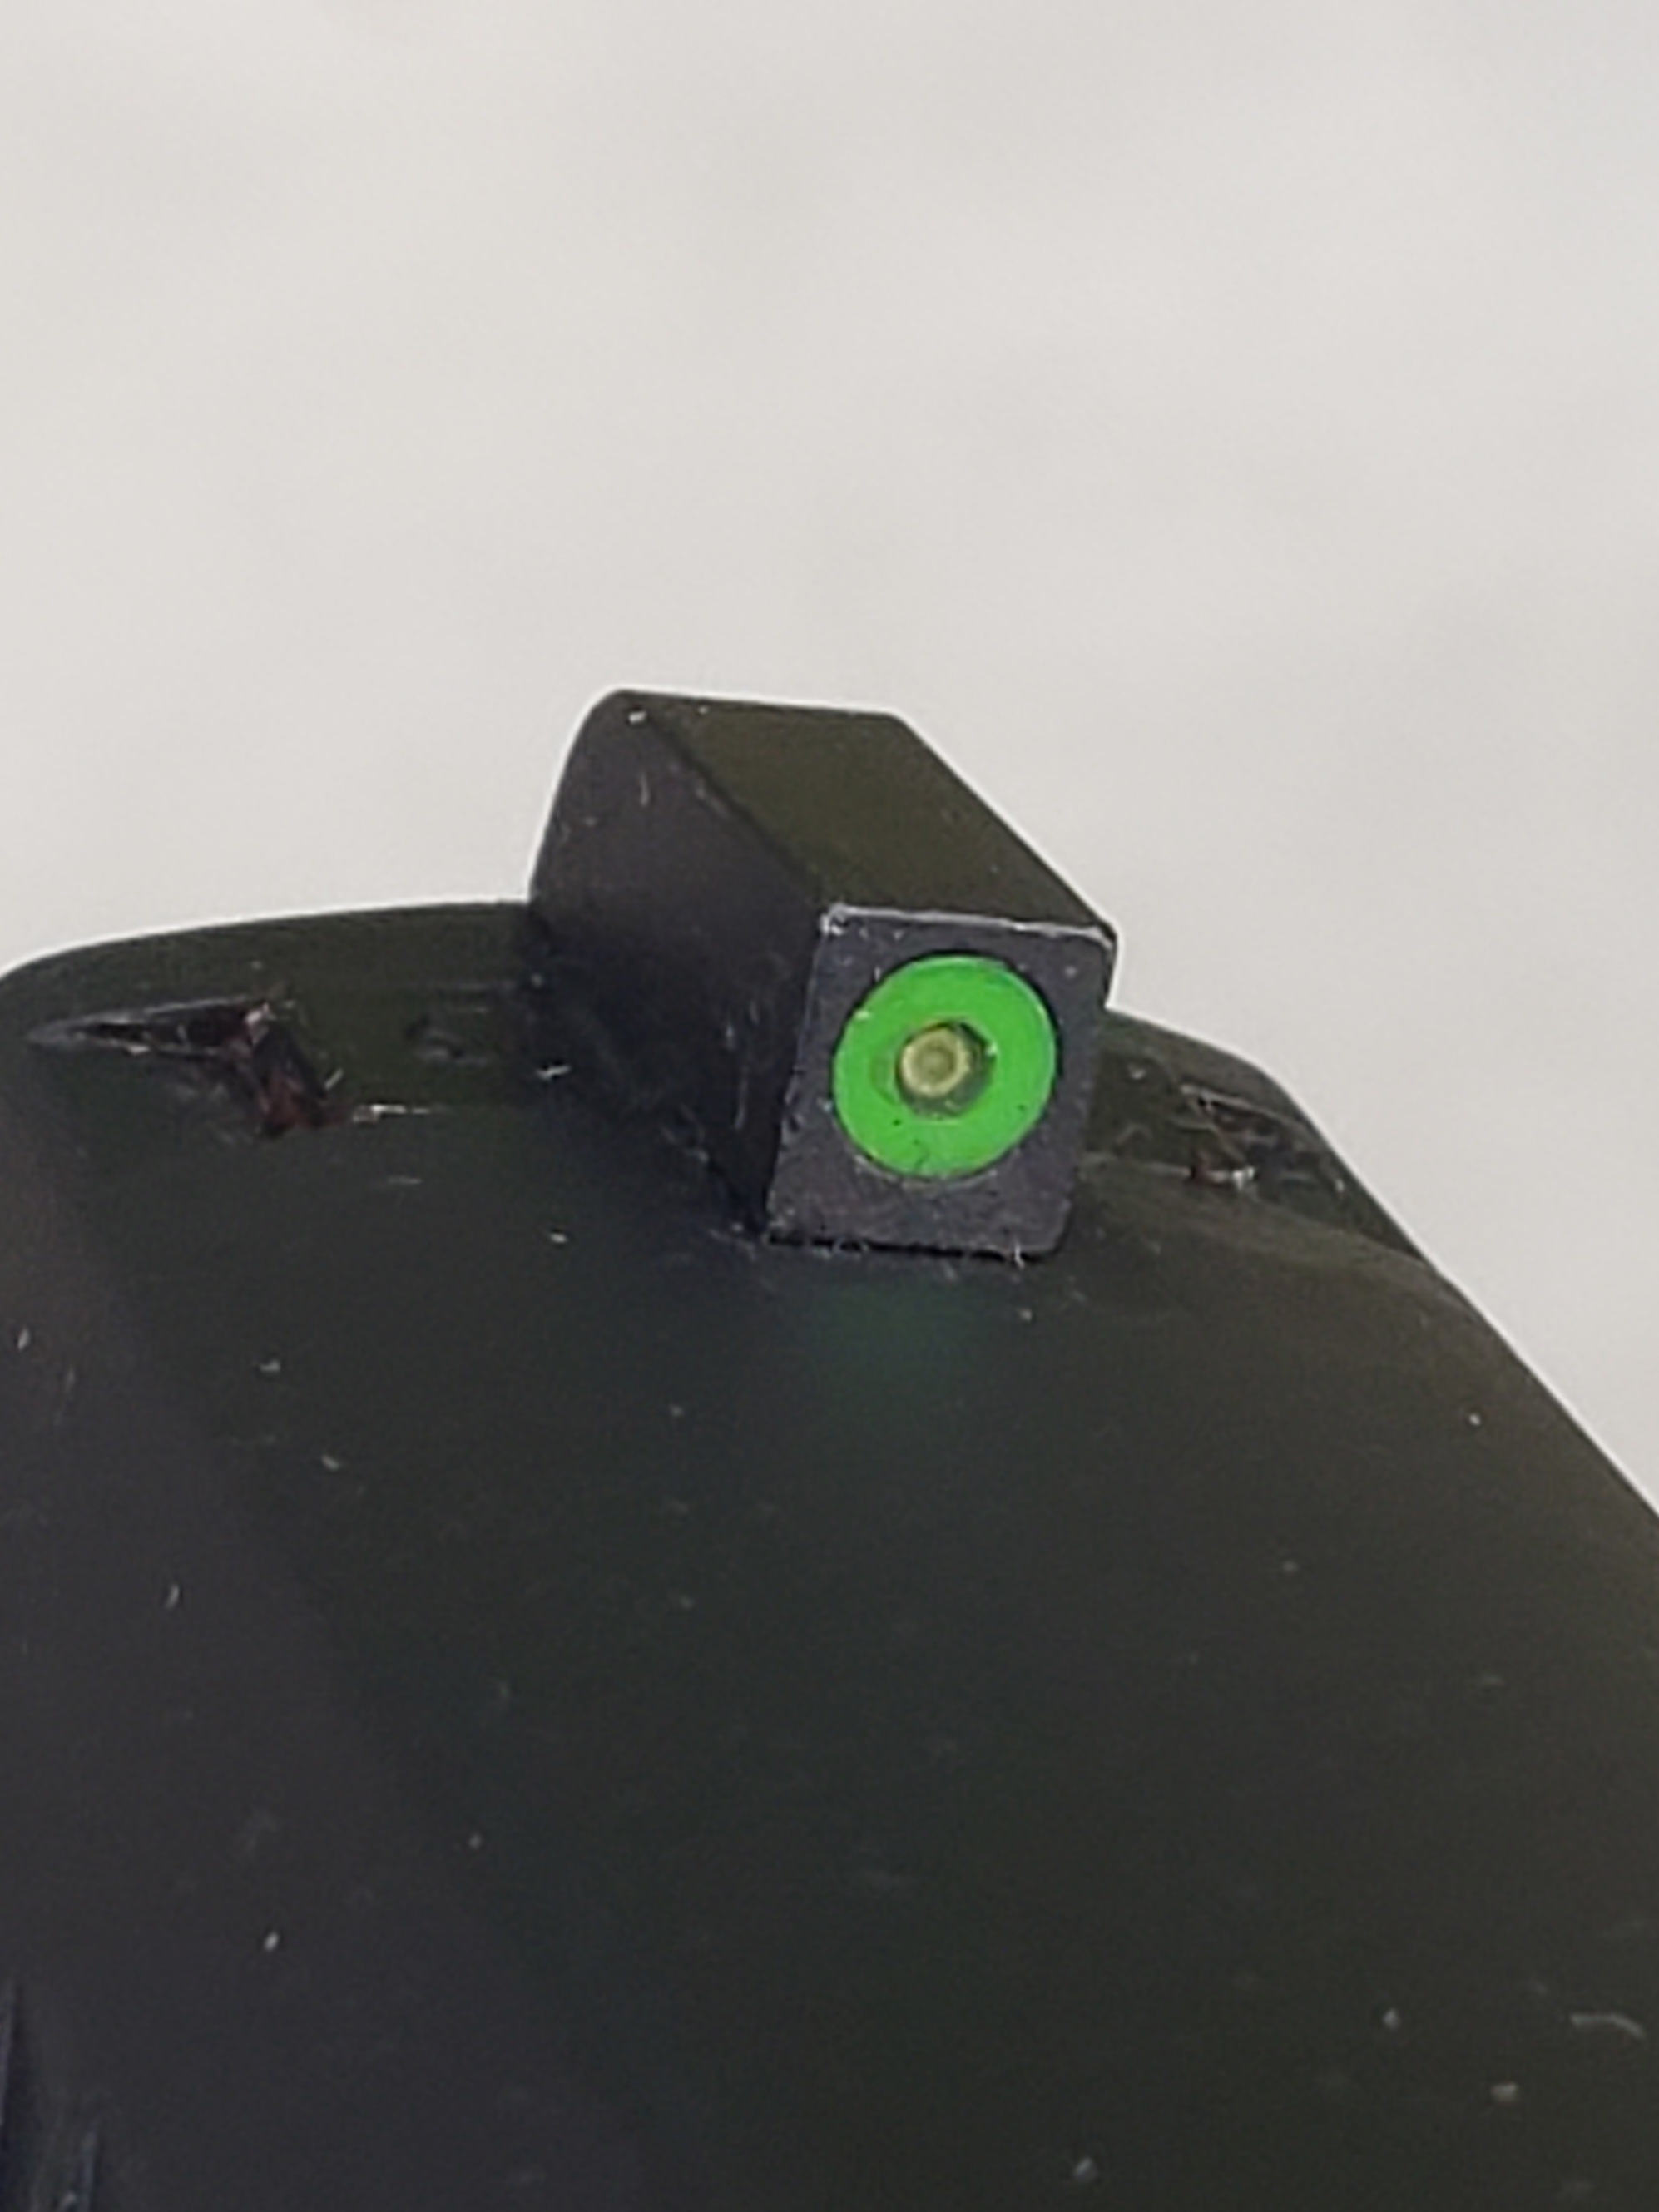
Correct Focus
Front sight focus is essential for new shooters using iron sights. For the red dots on the line, students superimposed the dots on the targets, and they remained target-focused. Different sighting techniques are introduced as students progress in ability. A common problem with students in most entry-level courses is looking for bullet holes in their targets OVER their sights. If students do their part, their bullets will impact where they want them to, and there is no need to verify their work visually. Focus was also discussed in terms of gear setup. Excessive or cluttered sights can detract from a correct sight picture, making blacked-out rear sights an excellent idea. A great training tool is the plastic pistol sight visual training aids from Training Sights. These helped the students learn “equal height, equal light” and how to create a correct sight picture.
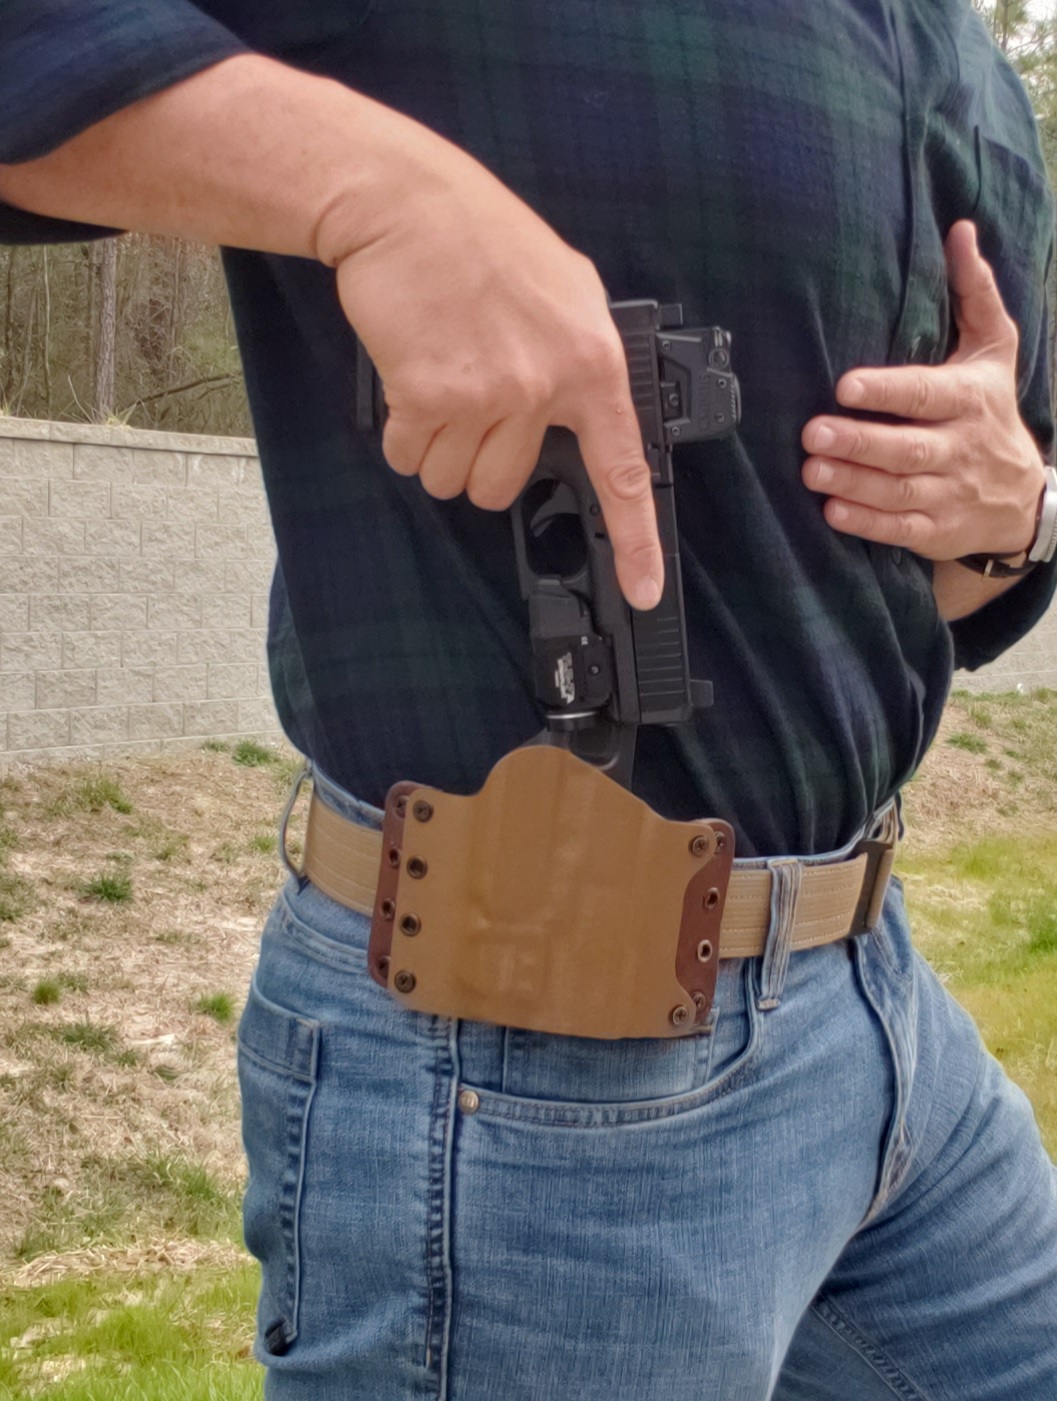
Holstering
The Basic Pistol course is taught on a cold range. That is, pistols are returned to the holster without rounds in them. Holster work can be the most significant moment of stress for an instructor but these students took instruction well and were very safe. For many students, this course was likely the longest duration they wore a holster for. Students learned that wearing a holster is more than just threading a belt through the loops of one. Students learned the best draw point on their bodies and the importance of clearing garments when reholstering to avoid negligent discharges. Students also learned there is no need to rush back to the holster. It should be done slowly and deliberately when there is no more work or threats are no longer a concern.
Learning Environment
Students dealt with a continual barrage of 15-knot winds in this Basic Pistol course. We did what we could with a Litefighter 10’x10’ tarp to create a windbreak for instruction under the structure we were in, but we had to brave it while on the line. This shared hardship was a source of joking for all the students, and some remarked that the wind impacted their accuracy. While we know this isn’t the case, the joking around brought the group together. In all the courses I’ve taught for Fieldcraft, the group dynamic is always what I enjoy the most. Students show up as strangers and leave as friends, and some will plan additional training with people they meet in class. Another notable aspect of the learning environment is an open dialogue between instructor(s) and students. Students were encouraged to speak up at any time if they had something to say or had a question. Additionally, instructors shoot right on line with students and are quick to demo the correct form in front of the students.
Basic Pistol is the first course in the Fieldcraft Survival firearms curriculum, and it prepares students for the next course, Defensive Pistol. Even for an experienced pistol shooter, it is always helpful to revisit the fundamentals. Furthermore, being able to help students by coaching them reinforces your understanding of what is being taught which helps you in return. There were many other takeaways from this course, and the student AAR revealed the “aha” moments for each in attendance. If you want to dial in your skillset, consider jumping into a course and finding out what lessons you’ll learn along the way. Check out all the Fieldcraft Trainings.